

Classic Car Wheel Installation Guide for Custom Steering Wheels
Upgrading the steering wheel in your classic Mercedes-Benz can feel as rewarding as your first Sunday drive on a quiet American backroad. For owners who value authenticity and style, choosing the perfect wooden or leather wheel makes every mile more personal. This guide walks you through every crucial detail, from gathering the right tools and components to proper installation techniques that protect your vintage steering system and keep your restoration journey smooth.
Table of Contents
- Step 1: Gather The Right Tools And Components
- Step 2: Remove The Original Steering Wheel Safely
- Step 3: Install The Hub Adapter And Align Components
- Step 4: Attach The New Wood Or Leather Steering Wheel
- Step 5: Test Steering Wheel Function And Horn Operation
Quick Summary
| Key Point | Explanation |
|---|---|
| 1. Gather specialized tools for installation | Use a precise toolkit including a wheel puller, epoxy, and torque wrench to ensure a seamless restoration process. |
| 2. Safely remove the original steering wheel | Disconnect the battery and apply even pressure when extracting the wheel to avoid damaging the steering column. |
| 3. Properly install the hub adapter | Align and fasten the hub adapter with careful torque application to guarantee safe steering performance. |
| 4. Ensure smooth attachment of the new wheel | Match the new steering wheel mounting points accurately and confirm that it operates smoothly and centers correctly. |
| 5. Test all functions post-installation | Verify horn operation and steering smoothness to ensure all electrical connections work and the installation is successful. |
Step 1: Gather the Right Tools and Components
Installing a custom steering wheel for your classic Mercedes-Benz requires precise preparation and the right equipment. You’ll need to carefully collect specialized tools and components that ensure a smooth, professional restoration process.
Begin by assembling a comprehensive toolkit specifically designed for vintage steering wheel installation. Your essential equipment should include restoration-specific tools for classic steering wheels, such as:
- Precision wheel puller for safe removal of existing steering mechanisms
- High-quality epoxy for crack repair and surface restoration
- Various grits of sandpaper (120-400 grit) for smoothing surfaces
- Cleaning solvents designed for vintage materials
- Protective gloves and safety glasses
- Torque wrench with precise calibration
Next, gather the critical mechanical components required for a successful installation. These typically include:
- Steering wheel hub adapter compatible with your specific Mercedes-Benz model
- Mounting hardware (bolts, washers, alignment pins)
- Horn button and electrical connection kit
- Optional alignment spacers for precise fitment
Professional restoration demands meticulous preparation and the right specialized equipment.
Carefully inspect each tool and component before beginning your project. Steering system design requires understanding specific hardware requirements to ensure proper installation and vehicle safety.
Pro tip: Always purchase components from reputable vintage Mercedes-Benz restoration suppliers to guarantee compatibility and quality for your classic steering wheel project.
Here’s a summary of essential tools and their specific roles for classic Mercedes-Benz steering wheel installation:
| Tool/Component | Purpose | Why It Matters |
|---|---|---|
| Precision wheel puller | Removes steering wheel without damage | Prevents column harm |
| Calibrated torque wrench | Ensures correct tightening of hardware | Maintains steering safety |
| Epoxy and sandpaper | Repairs and smooths wheel surface | Achieves professional finish |
| Gloves and safety glasses | Protects hands and eyes during the process | Reduces injury risk |
| Hub adapter and hardware | Connects new wheel securely | Guarantees fit and durability |
Step 2: Remove the Original Steering Wheel Safely
Removing the original steering wheel from your classic Mercedes-Benz requires precision and careful technique to prevent potential damage to your vehicle’s steering mechanism. You’ll need to follow a systematic approach that protects both the steering column and the wheel itself.
Start by preparing the steering wheel for safe removal, which involves several critical preparatory steps:
- Disconnect the battery to eliminate electrical risks
- Remove any decorative center covers or horn button
- Identify and carefully disconnect electrical connections
- Position the steering wheel at a neutral, comfortable working angle
- Locate the central retaining bolt or nut at the wheel’s center
- Use a steering wheel puller designed for vintage vehicles
- Apply steady, even pressure when extracting the wheel
- Document the original alignment position with a marker or photograph
Precision and patience are your most important tools when removing a vintage steering wheel.
Carefully inspect the steering column components after removal, checking for any signs of wear or damage. Proper steering wheel removal techniques protect your classic car’s delicate mechanisms and ensure a smooth restoration process.
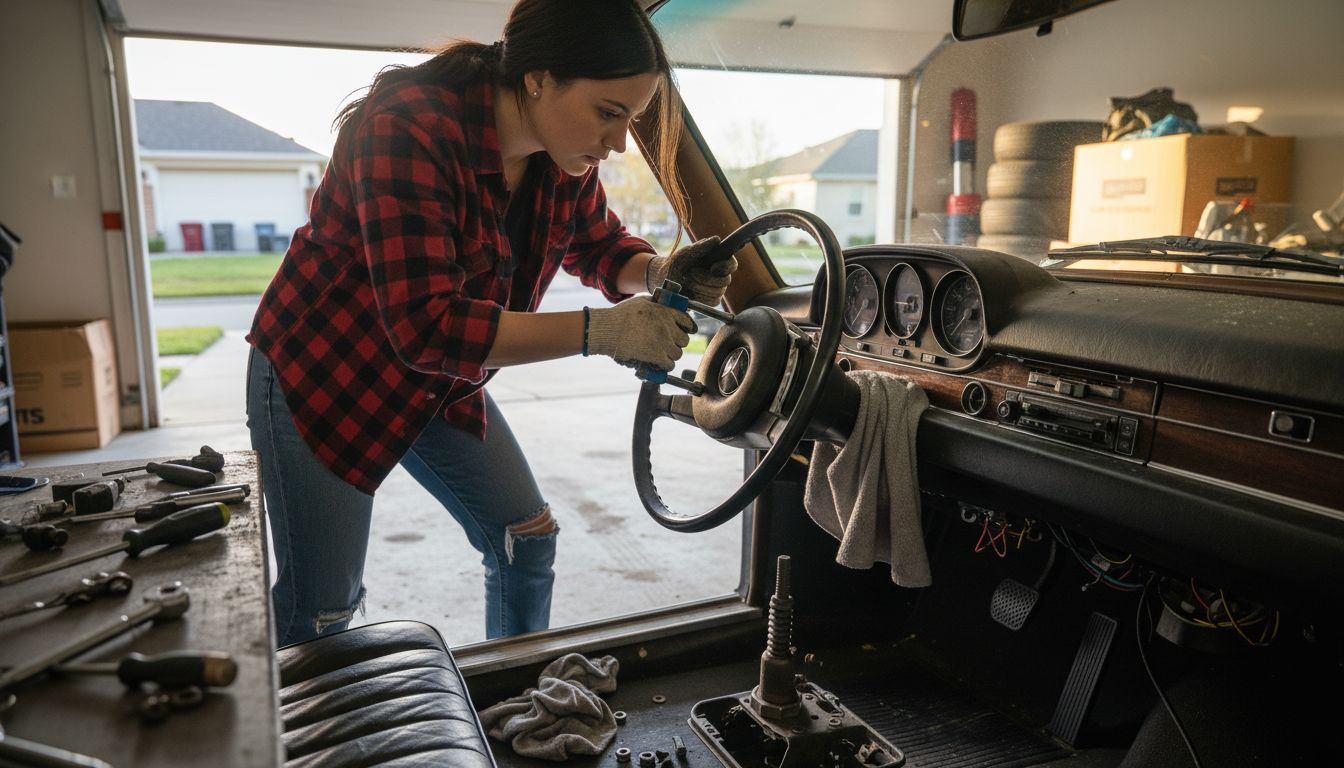
Pro tip: Always wrap your steering column components in soft cloth immediately after wheel removal to prevent accidental scratching or damage during the restoration process.
Step 3: Install the Hub Adapter and Align Components
Installing the hub adapter is a critical step in your classic Mercedes-Benz steering wheel restoration that requires precision and attention to detail. You’ll be transforming your vehicle’s steering interface by carefully mounting the adapter to ensure optimal performance and safety.
Steering system installation demands precise component alignment with several key considerations:
- Inspect the hub adapter for any manufacturing defects
- Clean the steering column spline thoroughly
- Check compatibility with your specific Mercedes-Benz model
- Verify all mounting hardware is present and undamaged
Follow these systematic steps for proper installation:
- Align the hub adapter precisely with the steering column spline
- Apply even, controlled torque when fastening
- Use a calibrated torque wrench set to manufacturer specifications
- Confirm full, secure engagement of the adapter
Precision in hub adapter installation determines your steering system’s integrity and performance.
The hub adapter transmits critical driver inputs between your new steering wheel and the vehicle’s existing steering mechanism. Take your time to ensure each connection is perfect, checking alignment and stability multiple times during the process.
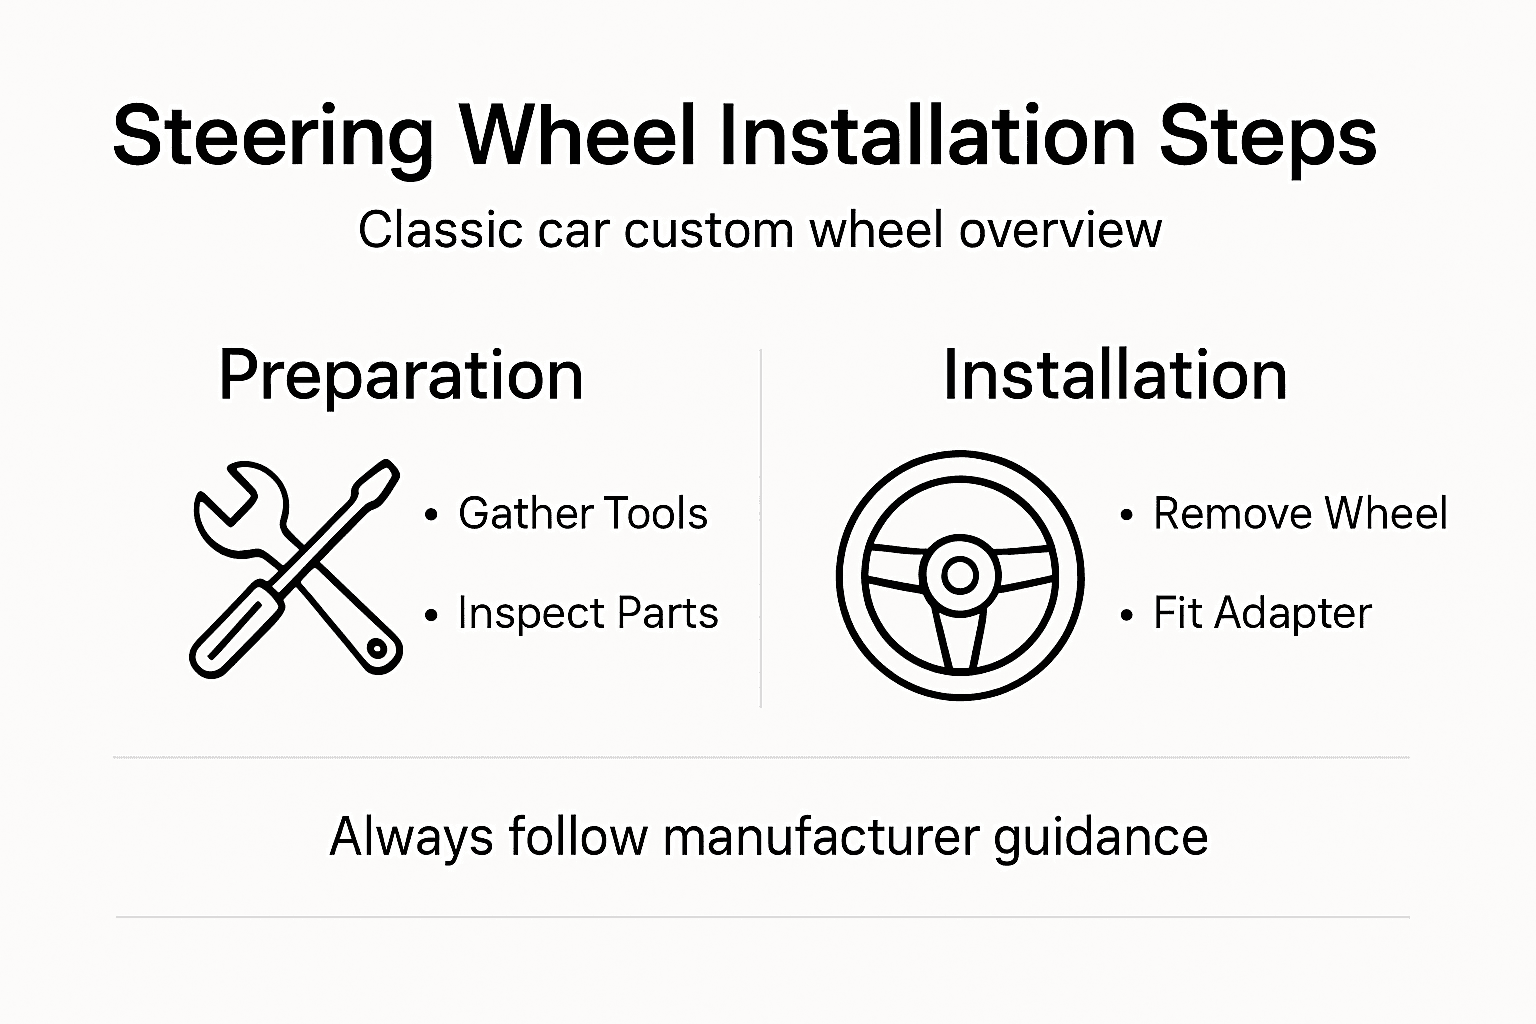
Pro tip: Photograph each stage of the installation to create a personal reference guide and help you track your precise alignment points.
Step 4: Attach the New Wood or Leather Steering Wheel
Your classic Mercedes-Benz is about to receive a stunning transformation with the installation of your new custom steering wheel. This final attachment step requires careful alignment, precise positioning, and methodical execution to ensure both aesthetic beauty and functional integrity.
Begin the installation by selecting the ideal wood or leather steering wheel for your vintage vehicle’s character:
- Verify hub adapter compatibility before beginning
- Align steering wheel’s mounting points precisely
- Check rotational symmetry and centering
- Ensure electrical connections are properly configured
- Position the steering wheel onto the hub adapter
- Rotate gently to confirm smooth movement
- Align any decorative elements or brand markings
- Insert and hand-tighten mounting hardware
Precision during installation determines both your steering wheel’s performance and visual appeal.
Carefully torque all mounting bolts to manufacturer specifications, alternating between bolts to ensure even pressure and prevent warping. Double-check that the wheel sits perfectly centered and moves smoothly through its entire range of motion.
Pro tip: Use painter’s tape to temporarily mark alignment points during installation, helping you maintain perfect positioning and symmetry.
Compare wood vs. leather steering wheels for vintage Mercedes-Benz vehicles:
| Feature | Wood Steering Wheel | Leather Steering Wheel |
|---|---|---|
| Visual Appeal | Classic, rich appearance | Modern, luxurious look |
| Grip Comfort | Firm but smooth feel | Soft and textured, comfortable |
| Maintenance | Requires regular polishing | Needs conditioning, easy cleaning |
| Durability | Sensitive to moisture/heat | Withstands everyday use |
Step 5: Test Steering Wheel Function and Horn Operation
With your custom steering wheel now installed, it’s time to verify its performance and ensure all electrical components work perfectly. This critical final stage confirms the success of your classic Mercedes-Benz restoration project.
Horn testing reveals potential electrical connection issues through a systematic verification process:
- Check horn button electrical connections
- Test horn operation at multiple steering angles
- Verify consistent horn sound and responsiveness
- Inspect clock spring for potential damage
- Test steering wheel rotation smoothness
- Press horn button firmly at center position
- Rotate steering wheel through full range
- Retest horn button at various wheel positions
- Listen for consistent horn sound
Comprehensive testing ensures your steering wheel functions safely and reliably.
Combine mechanical inspection with electrical testing, paying close attention to any intermittent signals or unusual resistance. Install a precise horn button to guarantee optimal performance and complete your restoration.
Pro tip: Use a multimeter to verify electrical continuity in horn button connections before final road testing.
Upgrade Your Classic Mercedes-Benz Steering Experience Today
Restoring your classic Mercedes-Benz steering wheel with precision takes the right tools and quality components. If you want a flawless fit and stunning finish that matches your vehicle’s elegance explore our collection of premium steering wheel hub adapters designed for perfect compatibility and secure installation. Pair your new adapter with an exceptional 14 inch Wood Steering Wheel | Premium Quality & Elegance – Punk Wheels to bring authentic style and comfort to every drive.
Don’t settle for anything less than professional-grade parts that deliver beauty and function. Visit Punk Wheels now to find everything you need for your custom steering wheel project. Act now to restore your steering system with confidence and make your classic car truly yours.
Frequently Asked Questions
What tools do I need for custom steering wheel installation on a classic car?
You will need a precision wheel puller, high-quality epoxy, various grits of sandpaper, cleaning solvents, protective gloves, a torque wrench, and a hub adapter. Gather this specialized toolkit before starting your project to ensure a smooth installation process.
How do I remove the original steering wheel safely from my classic car?
To remove the original steering wheel, first disconnect the battery, remove any center covers, and disconnect electrical connections. Use a steering wheel puller to apply even pressure while extracting the wheel to prevent damage to the steering column.
What steps should I follow to install a hub adapter for my new steering wheel?
Begin by inspecting the hub adapter for defects and cleaning the steering column spline. Align the hub adapter with the spline, apply even torque while fastening, and ensure full engagement to maintain steering system integrity.
How can I ensure my new steering wheel is properly aligned after installation?
Align the steering wheel with the hub adapter by checking rotational symmetry and centering before tightening hardware. Use painter’s tape to mark alignment points temporarily, ensuring the wheel is perfectly positioned during installation.
What should I do to test the functionality of my new steering wheel?
Test the steering wheel’s functionality by pressing the horn button and rotating the wheel through its full range of motion. Ensure consistent horn response and smooth rotation, checking for any electrical issues or unusual resistance during the process.
Can I use any steering wheel hub adapter for my classic car?
No, it’s crucial to use a hub adapter that is specifically compatible with your classic car’s model. Verify compatibility before starting your installation to ensure secure and appropriate fitting for optimal performance.